|
The first time I did a craft show I was terrified, worried about dealing with bad weather and mean customers. Happily I can report that I have never encountered a single mean customer at any show and have had pretty good luck with the weather. (Knock on wood!) Going to craft shows has become really fun for me. Here are the top reasons why I like them.
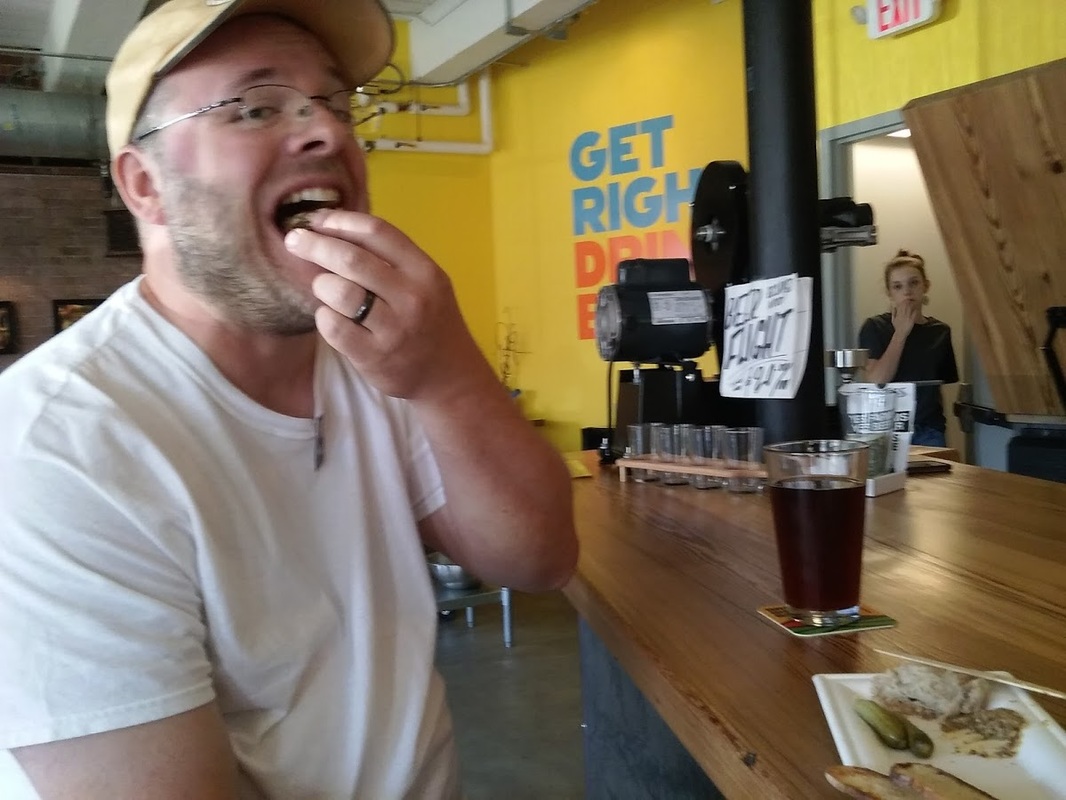
#8. The food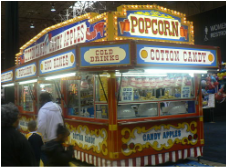
There's usually something delicious to be found at fairs and shows. Whether it's a chowder made by the ladies of Saint Paul's in Ludlow or amazing chocolates from the vendors at stART on the Street, there is something yummy to keep me energized.
#7. Visiting different towns
I'm not a particularly adventurous person. Give me a weekend with nothing to do and I'll stay at home 95% of the time. Craft fairs get me traveling around the state, seeing towns that I've never visited before. I get to see them at their best, usually from their downtown or another prominent location.
0 Comments
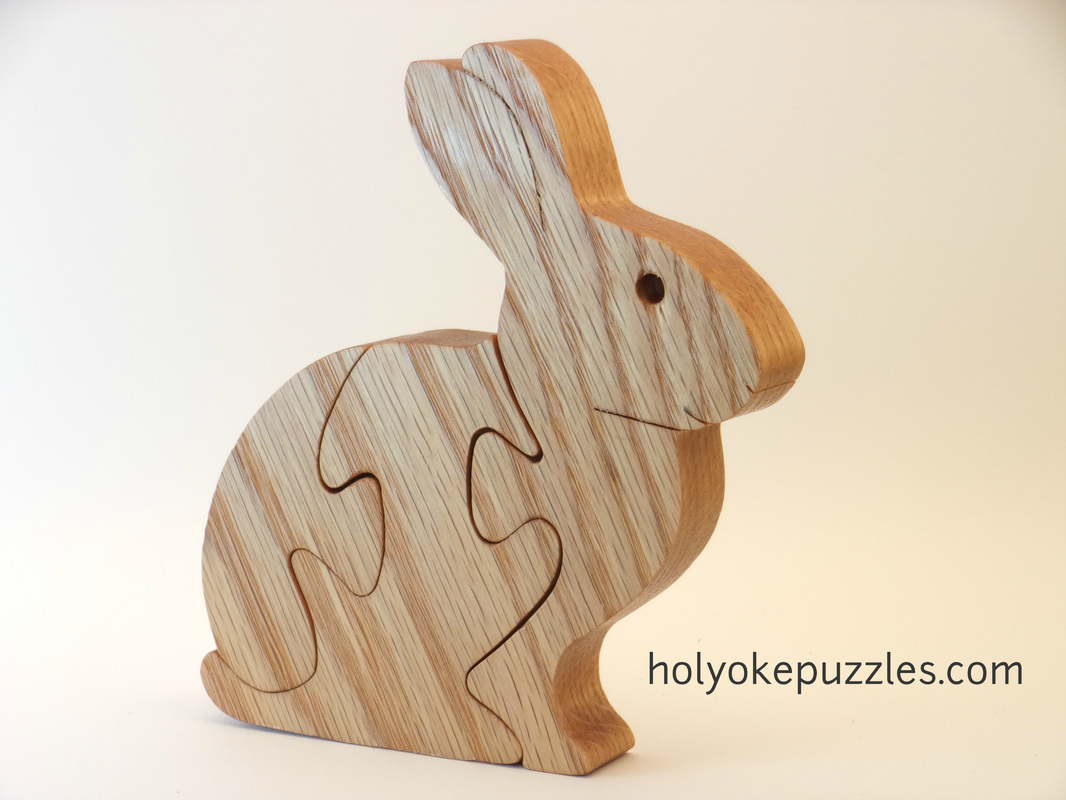
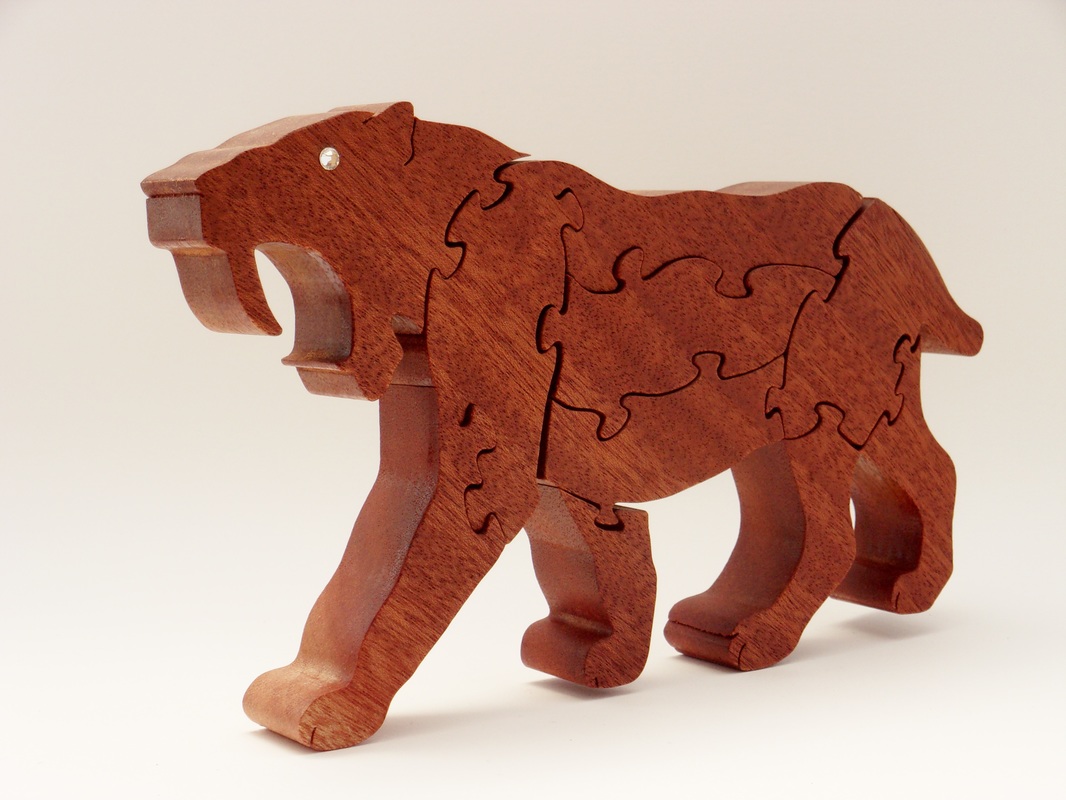
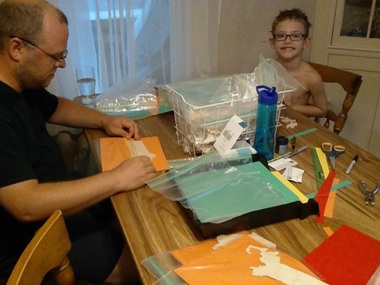 Holyoke Puzzles might seem like a one-woman show. While it's true that I do all the designing and puzzle production, my family is an essential ingredient in the puzzle magic. My husband Sean has the biggest support role. He is chief child-wrangler, shipping clerk, and errand runner. If Sean didn't keep the kids occupied, I would never have time to get into the workshop. From September to June when I'm busy with my other full-time job during the day - teaching - he runs boxes to the post office and picks up supplies. He's always willing to step in and lend a hand when crunch time comes up. With Celebrate Holyoke coming up this weekend, Sean and our oldest son Gabe helped me assemble and package up several dozen puzzles that I cut over the past few days. Sean isn't the only family member who has had an impact on Holyoke Puzzles. Gabe is my chief inspiration officer. He has his finger on the pulse of the 9-year-old set. A number of the puzzles that have made it into production began with his ideas, including the saber tooth cat and my redesigned bunny. Unfortunately I can't keep up with the speed of his imagination, so I keep a list of puzzle ideas by my computer for when I'm in a creative mood.
 My youngest son, Xavier, is not yet in a place where he can help out in a practical sense. But he keeps me going in his own goofy way. Xavier has a rare genetic condition that ends up looking a lot like autism. Building my business is one way that I can help create a better life for him and pay for the medical equipment and specialists that he needs. Xavier inspires me to keep going despite whatever hardships come my way.
Another main player who is an essential support for Holyoke Puzzles is my mother-in-law Linda. She steps in to babysit the boys so Sean and I can have a night out to recharge. This weekend she'll watch the kids so that Sean can accompany me to Celebrate Holyoke. With the festival ending at 11 p.m., I'm sure to need him to prop me up by the end! I'm not unique in relying on my family for support to make my small business successful. I'm lucky to have great people around me and to live in the business-friendly city of Holyoke. Behind every small business success story is a family and community. Thanks for reading! - Barbara
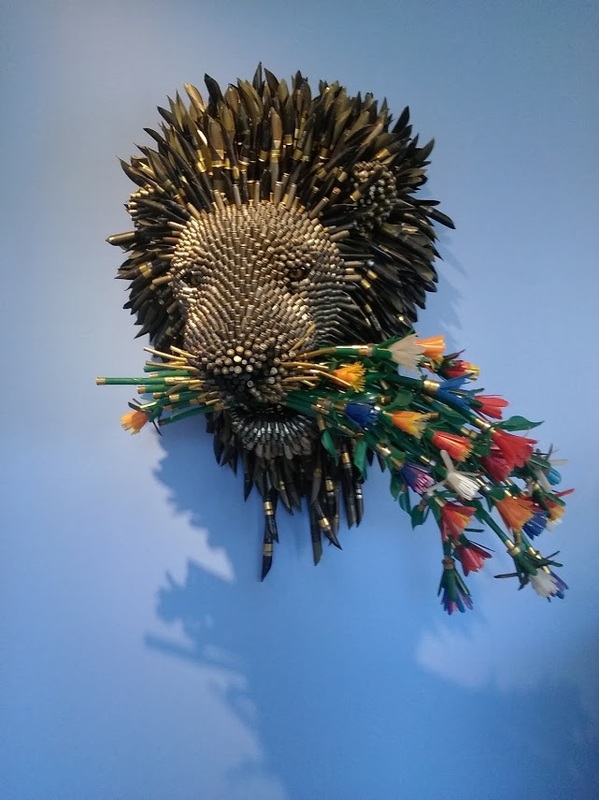
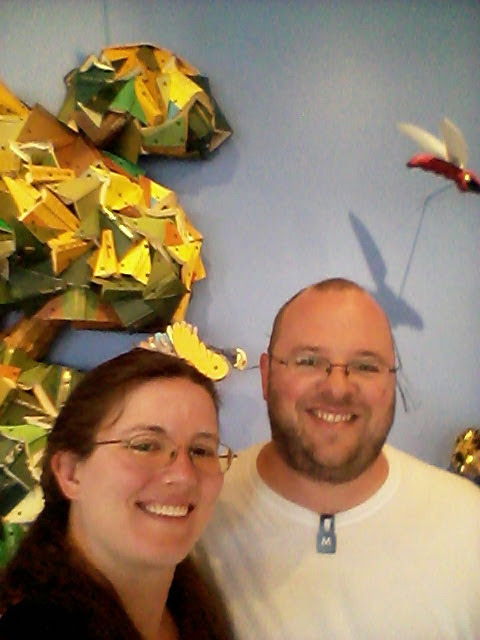
I'm not exactly an art expert, but I've had a fair bit of exposure to modern art through my French classes. My husband, Sean, however is well known for his preference for realistic representations in art. So you can imagine that we had somewhat different opinions of the art at Mass MoCA. Here are a few of the exhibits that we both enjoyed: We loved "Here Comes the Sun" in the Kidspace. (It figures that we would like the kid-friendly art the best!) The use of bullets, sneakers, books and other common objects to create animals and nature scenes was very entertaining. It was fun to try to identify the objects that the artist used and to find puns and other visual jokes in the works.
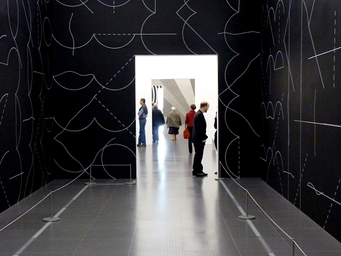 Sol LeWitt exhibit in Paris. Photo by Bava Alcide57 - Wikimedia.org Sol LeWitt exhibit in Paris. Photo by Bava Alcide57 - Wikimedia.org The Sol LeWitt exhibit of wall drawings was also engaging. I loved the colors, patterns and textures. The Mass MoCA galleries are so gigantic that it's possible to put together immense walls. It felt immersive, like walking through a painting. As an artisan, I found the designs so inspiring.
For our second day, we ventured down to Pittsfield to visit the Berkshire Museum. I loved that this museum has displays of art, history, science and culture under one roof. There is even an aquarium in the basement! It was just the right size for a one day visit. The Finding Raven and Living on Earth exhibits were particularly impressive.
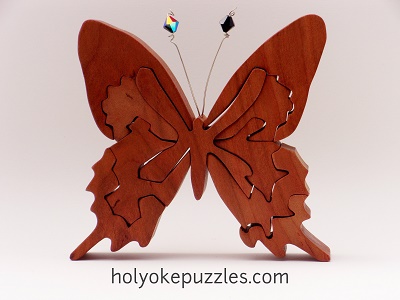
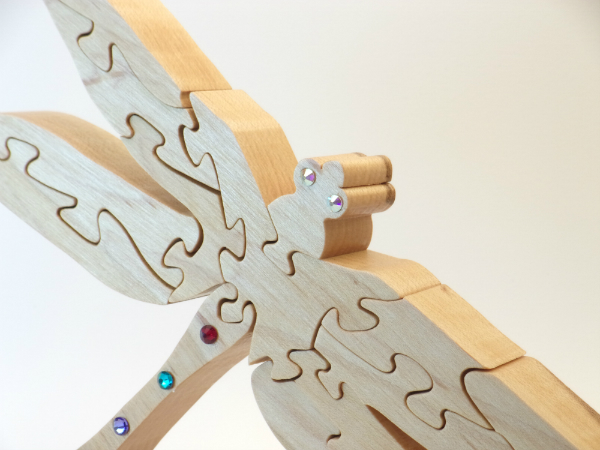
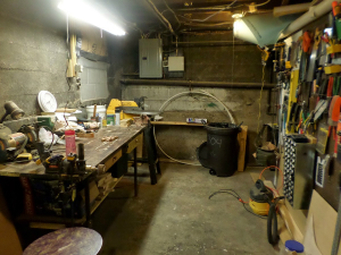
Although it was only two days away from home, I came back feeling creatively recharged and ready to get back to puzzle making. What gems in the Berkshires should we visit the next time we're looking for a getaway? Let me know in the comments! 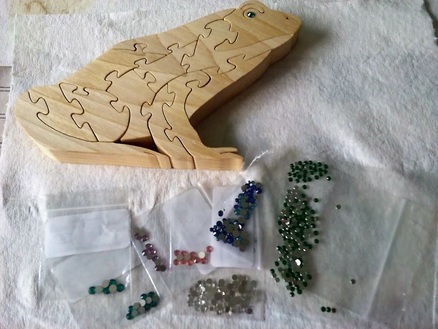 I wish I could take credit for the idea to add crystal eyes to my jigsaw puzzles, but that recognition goes to my husband, Sean. Early on he realized that the puzzles needed something extra, a little spark to make them stand out. I don't remember exactly how we settled on the crystals, but I know that it is one of the first things that customers comment on when they see my display at craft shows. There are a couple of places where I like to purchase the crystals, jewelry wire and adhesive that I use in my puzzles. I started off buying from Northampton Beadery, a local shop in Northampton, Massachusetts, which sadly closed its doors recently. The owner had great advice about adhesives and wire gauge when I was just beginning to integrate the crystals and wire. There is no substitute for the wisdom of an experienced artisan when you're learning a new craft. I'll be forever grateful to Heather for her help. 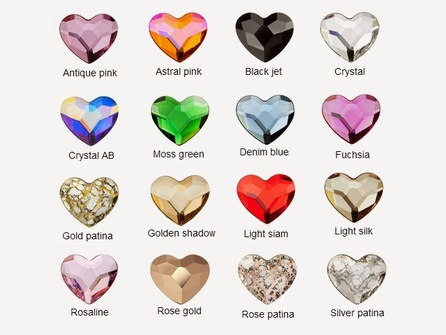 With the Beadery's closure, I have started using the Artbeads website, which has a dizzying array of Swarovski crystals in every shape, size and color you can imagine. Really, it's intense. I have explored using generic crystals available at local craft stores, but there really is no substituting for that genuine Swarovski sparkle. Now I'm pondering new ways to use crystals and wire in my designs. I have some thoughts about a steampunk airship puzzle and orchids with silver wire tendrils. I don't know when I'll get to those designs, but I'll file the ideas with my "puzzles-to-do" list. Stay tuned. 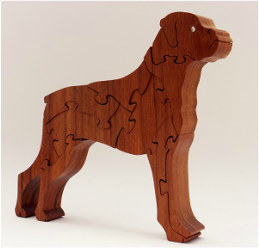 After cutting the board down to a manageable size, it gets a sanding with 80, 100, 120 and 180 grit sand paper. I use a temporary spray adhesive to attach the paper pattern to the wood. Lots of testing in my workshop has shown 3M General Purpose 45 Spray Adhesive to be my favorite. I give the pattern a light spray, let it sit for a minute, then position it on the wood. Finally, I cover the paper with clear packing tape. The plastic tape stops the pattern from ripping as I cut and lubricates the saw blade. If the puzzle has any cut-outs or a jeweled eye, I pre-drill those spots. 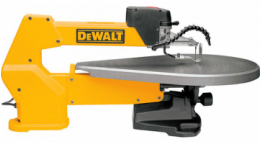 Once the prep work is done, I can start cutting the puzzle. I use this very nice DeWalt scroll saw fitted with a fine blade. (Blade choice is another piece of woodworking geekery that I'll save for its own blog post.) Cutting a puzzle takes between 30 and 90 minutes, depending on the number of pieces and the hardness of the wood. You can watch me work in the time lapse video below. Once all the pieces are cut out, I move to my sanding station. A sanding mop is the best way to smooth all the intricate curves in the pieces. I have the sanding mop loaded into a drill that is held down on the workbench with an array of clamps that looks like it came out of Frankenstein's lab. While not a pretty system, it works perfectly. As a last step, each piece gets a dip in a tung oil finish, mineral oil bath, or sprayed with shellac. Once the finish is dry I add any crystals or jewelry wire that the design requires and the puzzle is ready to go to a new home.
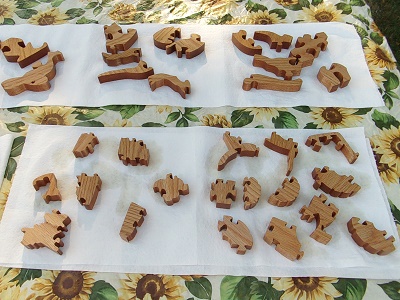
I hope you've enjoyed seeing the puzzle making process. Questions? Leave me a comment and I'll be happy to reply. 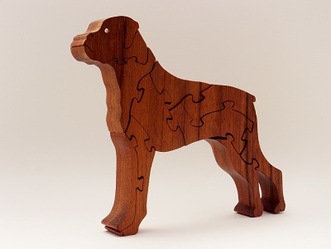 A lot of time and thought goes into creating an original wooden jigsaw puzzle. When I first started making puzzles, I used patterns published by Judy and Dave Peterson. It was a great way to learn about different materials and to become proficient with my scroll saw. Their books have great tips for any scroll saw artisan. When friends began asking me for custom puzzles, I developed my own creative process. Now I exclusively use my own designs, which is why my puzzles look so different from the hundreds of jigsaw puzzles you can find on Etsy. I begin by finding reference images for the design. For the boxer dog pictured above, I started with a Google image search with usage rights set to "labeled for reuse." It's important to be sure that I'm not going to rip off someone's intellectual property! Generally images "labeled for reuse" have creative commons licensing that allows free commercial reuse of the image. When in doubt, I follow the image back to its source on Wikimedia Commons, Pixabay or Creative Commons and check its copyright details. Once I have several reference photos to work from, I draw an outline of the animal, machine, building or person. 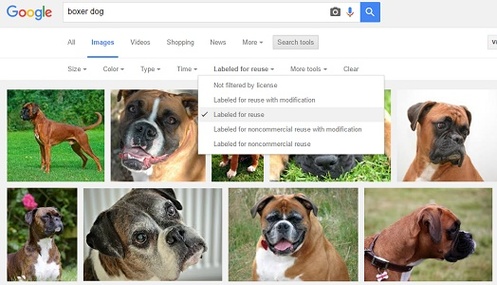 The next step is to divide the image into puzzle pieces. My goal is always for the finished puzzle to stand independently when assembled, which means paying attention to both the natural contours of the object and the way gravity will affect it. Placing the keys - the bulbus projections that lock the pieces together - in just the right spots is essential. If I don't get it right, the dog could have a floppy head or a drooping tail. I also need to consider the properties of the wood I plan to use. Some woods cut easily and allow for quick turns. Others are brittle and will chip or crack if the keys are too pointed. Long, thin pieces need to always follow the wood's grain line or they will be prone to breaking. In the video below you can see how the boxer design came together. Once I have my finished design on paper, I scan it into my computer to be printed whenever I want to cut a puzzle. In my next post I'll show you how the design on paper becomes a wooden jigsaw puzzle.
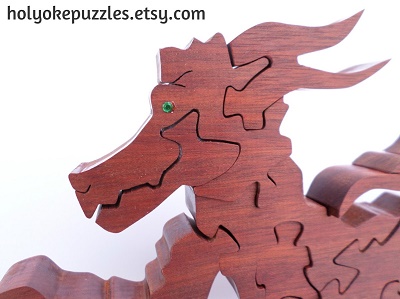
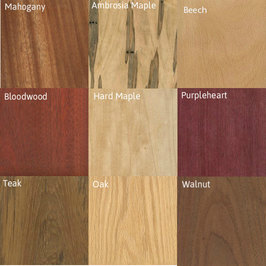 One of the aspects of making puzzles that I most enjoy is choosing woods to compliment the design. The array of colors and textures produced by trees is amazing! Shedua and mahogany give animal puzzles a beautiful furry look, while padauk has a fiery red color that looks great for a dragon or phoenix. When I started seriously making puzzles, I would go into my local woodworking shop and grab whatever boards were within my budget and appealed to me aesthetically. Yet over the past few years I've become more aware of the environmental impact of tree harvesting, especially in the tropics where vast swaths of forest are being illegally logged. It's important to me to operate my business in an environmentally sustainable way, so paying attention to the types of wood I use and where they come from has become a central concern as I purchase materials. The good news is that the Internet makes it easy to find out what woods are endangered or threatened. My go-to source for anything and everything about wood is the Wood Database. Begun by Eric Meier, this encyclopedic site has everything a woodworker needs to know about all the varieties of wood out there. It will tell you how hard a wood is, how easy it is to work, and what it is commonly used for, among many other details. Eric also keeps up to date information about each wood's sustainability, handily listed in these charts. Who decides whether a wood is endangered or threatened? The Convention on International Trade of Endangered Species of Wild Fauna and Flora (CITES) is one source. This is an organization created by international agreement that tracks and restricts the transport of natural products from endangered species. If you want to geek out on the details, here are the full CITES Appendices. There is also the International Union for Conservation of Nature (IUCN) made up of governmental and private sector members. Their Red List of Threatened Species is a bit more comprehensive than the CITES list, as the IUCN threshold for being identified as threatened is often more strict than the CITES criteria. 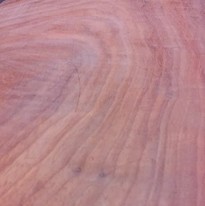 Now when I am purchasing wood, I use the information from the Wood Database to inform my decision making. Not only do I want woods that will have the aesthetic and working qualities that I'm after, but I make sure to avoid ones that are endangered or threatened. For example, once I use up my current stocks of mahogany and sapele, I will not purchase them any more as the status of those trees are unclear. Instead I will switch to shedua, which is not flagged. Avoiding endangered species would seem like a straightforward thing, but it can be surprisingly complicated. For example, black walnut found in the eastern United States is not threatened, but Peruvian walnut is nearing threatened status. Many woodworking stores simply label boards as "walnut" with no indication of its source, making it impossible to know whether the wood was sustainably harvested. Happily I have found suppliers that are clear about where their wood comes from. Connecticut Wood Group is a great local business that stocks an amazing array of domestic and exotic woods. I also purchase from Woodworkers Source in Arizona - who also happen to have the funniest shipping notifications I've ever received. (Really, you should order something from them, just to get the shipping email.) Researching the woods I use takes some time, but it is well worth it. I can feel good that my business is not contributing to the worldwide decline in biodiversity, and my customers will know that their handmade purchase was made with consideration for our planet. That's a win-win if I ever heard one.
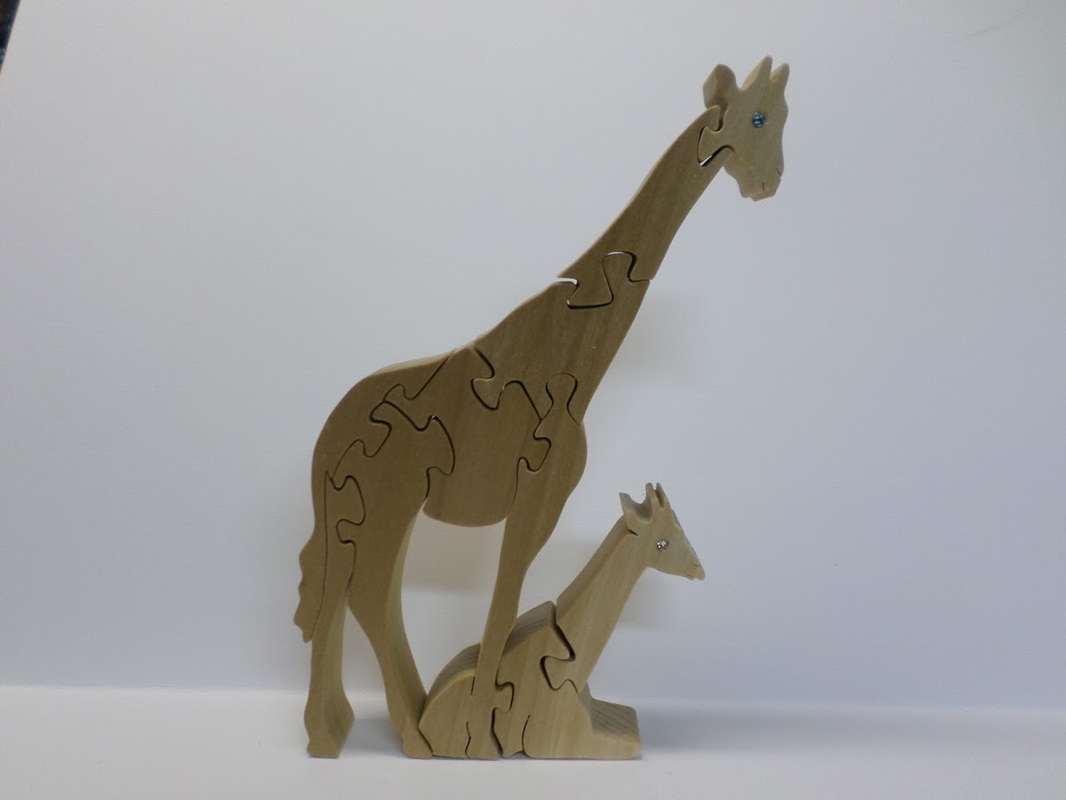
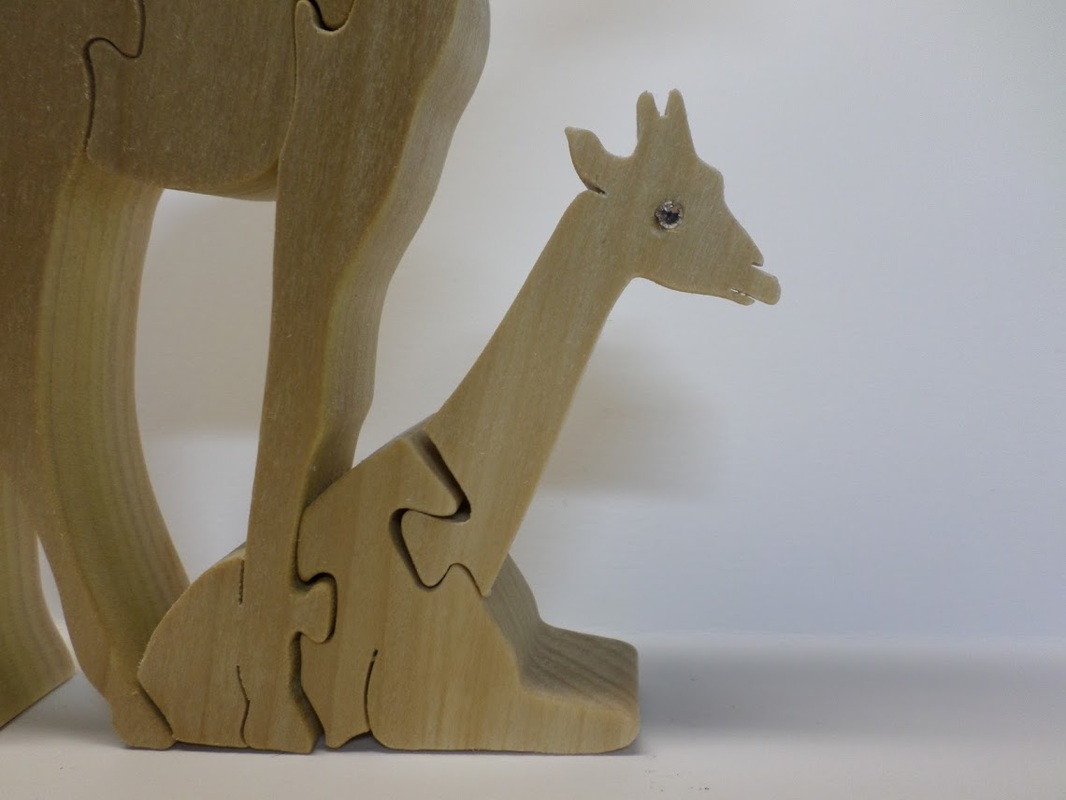
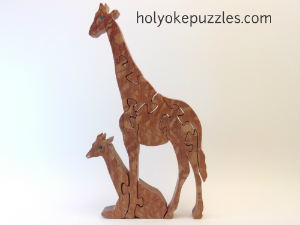
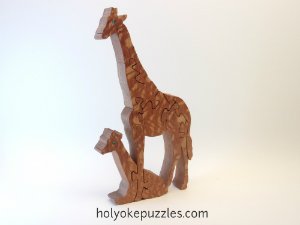
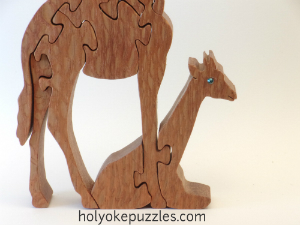
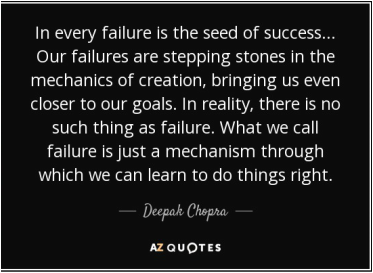 Failing is not fun. It's annoying. When I fail a prototype of a new design, it means wasting time and materials. At least that's how I used to see my failed puzzles. Over time I am becoming more philosophical about the failures, trying to see the "seed of success" in each lopsided, ugly or broken puzzle. And so I present to you the story of some ugly giraffes and how they became beautiful.
Holy Catastrophe, Batman! Baby giraffe, what have you been drinking? And mama's not gently guarding her calf; she's looming over him like a helicopter parent of the African savanna. "Get up and go meet that well connected gazelle kid or you'll never get into Harvard!" We won't even talk about how their heads look ready to fall off. Sorry, you two. You're headed for grandpa's wood stove this winter. 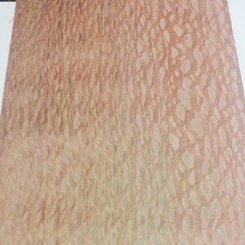 Leopardwood Leopardwood I won't lie. I was annoyed and disappointed. Several hours of work later I had nothing to show for it. The design went into my accordion folder for the next six months. Then last week I decided to go through some of my failed designs to see if I could save any of them. (Yeah, the giraffes are just the tip of a pile of puzzle disasters.) I pulled out the giraffes prototype to analyze its problems. Mama's front leg is at the wrong angle and the heads were doomed to droop because of the vertical orientation of the keys. But I liked the shape of the heads and the overall composition. One re-drafting later and I decided to boldly go right to cutting the new pattern from a special board that I had been saving: Leopardwood. You've got to see this material to believe it. It has spots! Here are mama and baby giraffe in all their glory. Now they reflect the vision I had in my mind when I set out to create this puzzle in December. I'm always pleased when a design looks good the first time. Who doesn't love to have something work out almost effortlessly? But some of the most gratifying - and popular - designs I've made are the ones that took some sweat and tears to produce. Putting aside a failed design for a while gives me the time to reflect on it without stressing over it. I've surely developed new skills in the past six months and I've had the time to get some emotional distance from the failed giraffes. Overcoming a failure doesn't mean that you have to fix it *right this minute*! Putting something aside for a while can be the best way to find out how to evolve it into a success. - Barbara
I've always been pretty tech-savvy. I had the good fortune to go to college right at the time when personal web pages were becoming a thing, so I learned how to write HTML by hand and I've kept a hand in coding in the 16 (*gulp*) years since graduating from college. I've never been afraid to try new apps or dive into social media and am generally considered the go-to gal for tech questions at my day job as a teacher. But having a casual website and a Facebook page isn't enough when you're trying to run a successful online business. I'm ready to grow beyond the occasional errant shopper who stumbles across me on Etsy. (Thank you, errant shoppers! You've given me hope that what I'm doing is worthwhile and you've taught me a lot about selling online!) I'm ready to compete in the big leagues, and that means getting found when people search for me. So I started Googling. I was appalled to discover that my business didn't show up on the first page of results even when searching for "holyoke puzzles." *sad trombone* Clearly it was time to get serious. I started looking for tips online for getting my website recognized. And that's when I found the three letters that now obsess me: SEO - Search Engine Optimization. I've started dreaming in keywords and pondering meta descriptions. No, it's not as fun as designing puzzles or selecting beautiful woods, but it's just as much a part of my job as crafting. After a lot of sifting through posts on SEO, I thought I'd share some of my favorite (and most readable) choices.
|
AuthorBarbara Bitgood, Artisan owner of Holyoke Puzzles in Massachusetts. Archives
July 2023
Categories
All
|


 RSS Feed
